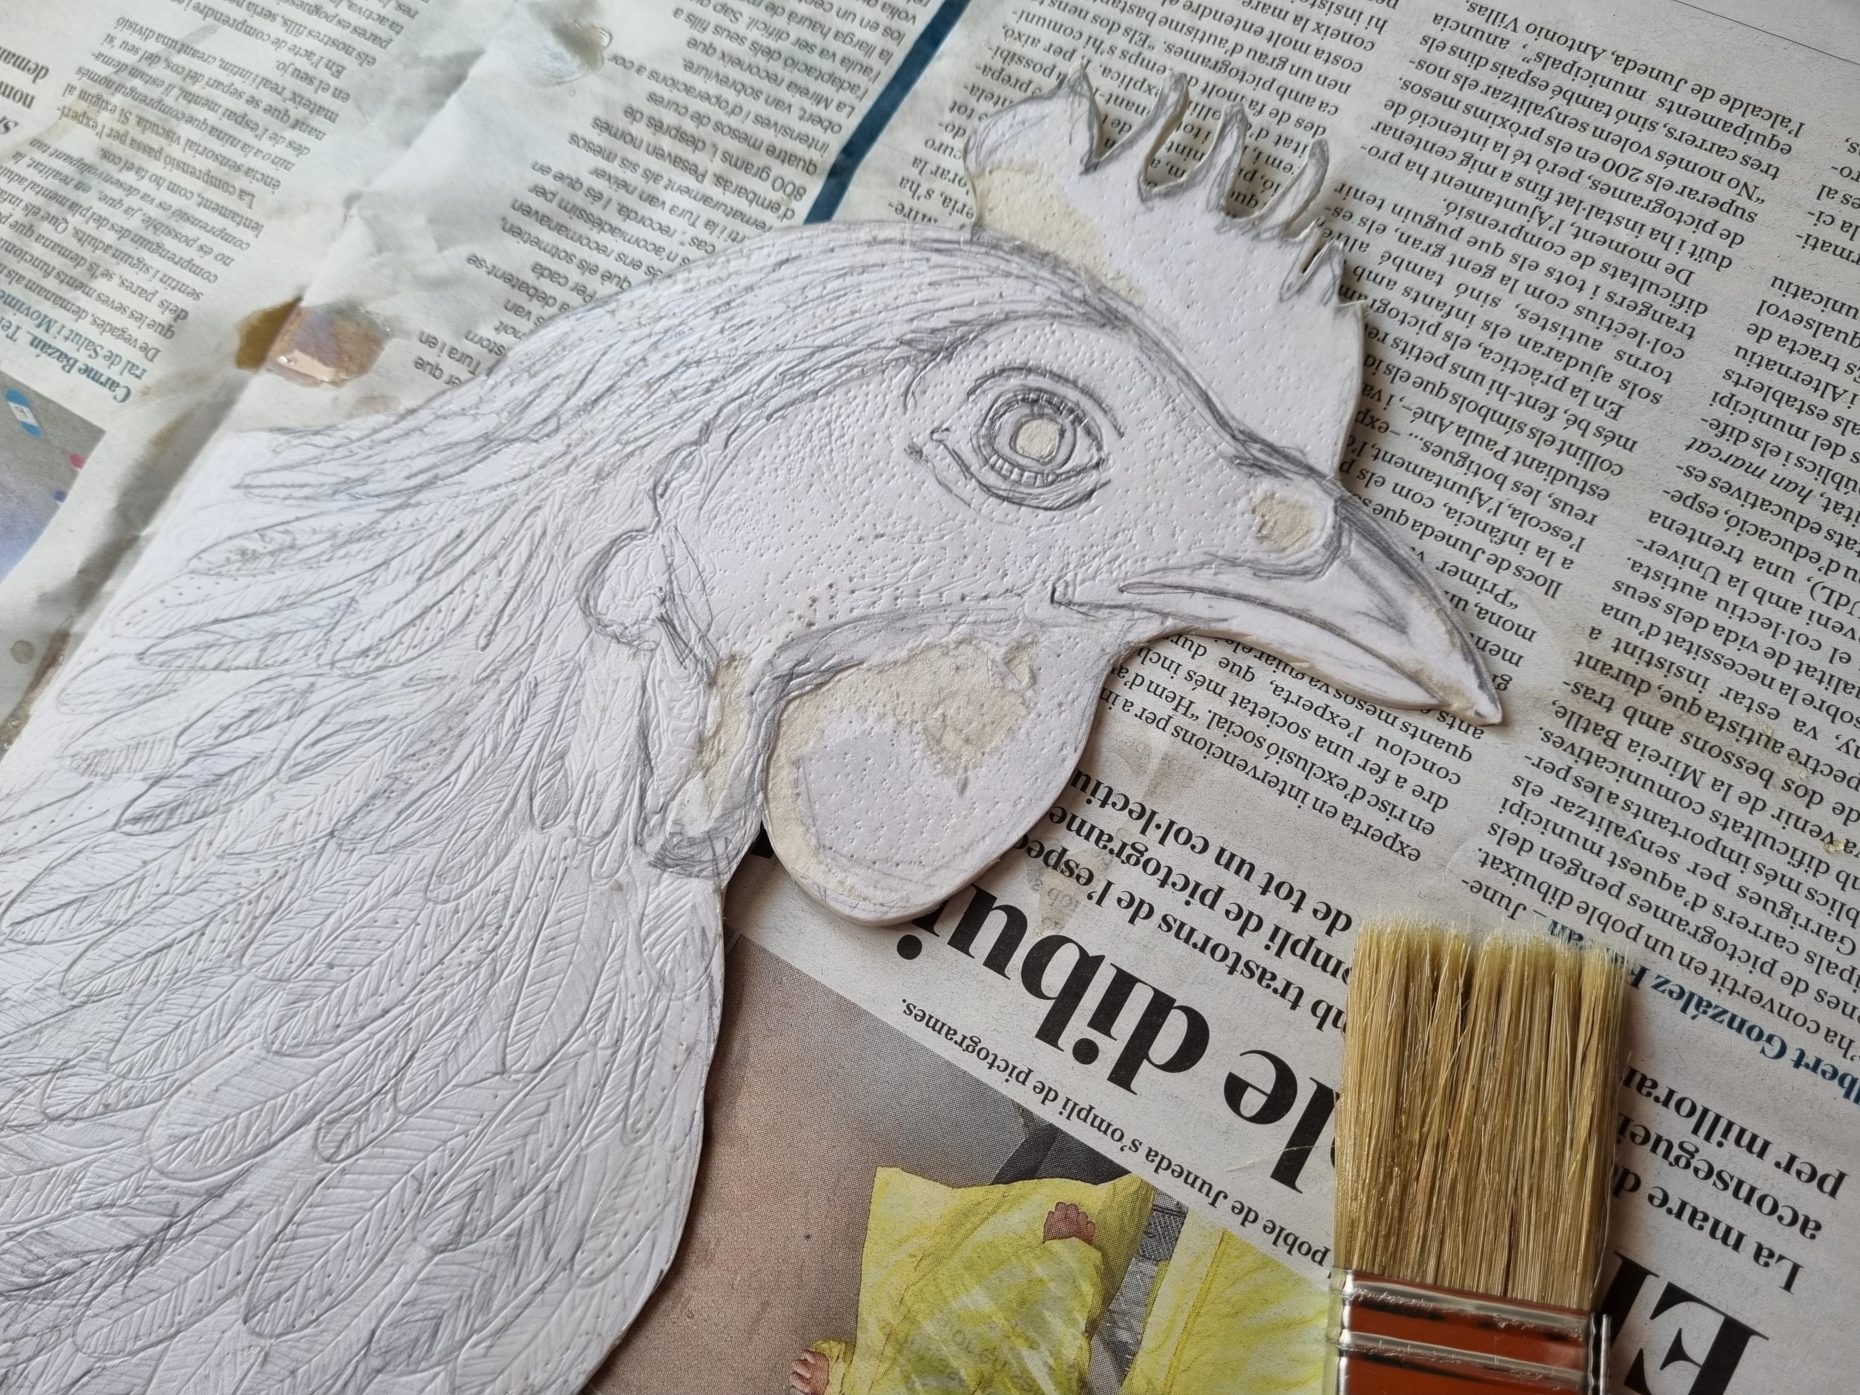
After my collagraph tutorial with Marian Haf, I couldn’t wait to have a go at putting into practice all the steps she’d explained. Naturally, my chosen subject was a chicken (new arrivals in the garden at home).
The photos below show each stage of creating the collagraph plate, including the initial drawing, scratching details into the mountboard, sealing the plate with shellac, inking up and a resulting early print.
As well as printing a lovely one-colour version in Prussian Blue (a favourite colour), I also had a go (under Julio’s guidance) at creating a two-colour version using the à la poupée technique. This uses a ball of fabric to add different colours to a single intaglio plate.
It was intriguing and exciting to peel back and reveal the first print after putting it through the press, as I had no idea what to expect. But I was really pleased with the result and loved the idea of using simple (and relatively ‘safe’) materials to create the plate.


